Table of contents
Let's start with the creation of a demo Next JS application. We open a cmd terminal and type the below command.
npx create-next-app b-03-demo-app
It will ask for a few questions, for now, go with "No" on all the questions below.
? Would you like to use TypeScript with this project? » No / Yes
? Would you like to use ESLint with this project? » No / Yes
? Would you like to use `src/` directory with this project? » No / Yes
? Would you like to use experimental `app/` directory with this project? » No / Yes
? What import alias would you like configured? » @/*
After going through all the above steps, our next JS app will be created.
Now let's cd into the project directory.
cd b-03-demo-app
Now run the bellow command, which will run the server in development mode.
npm run dev
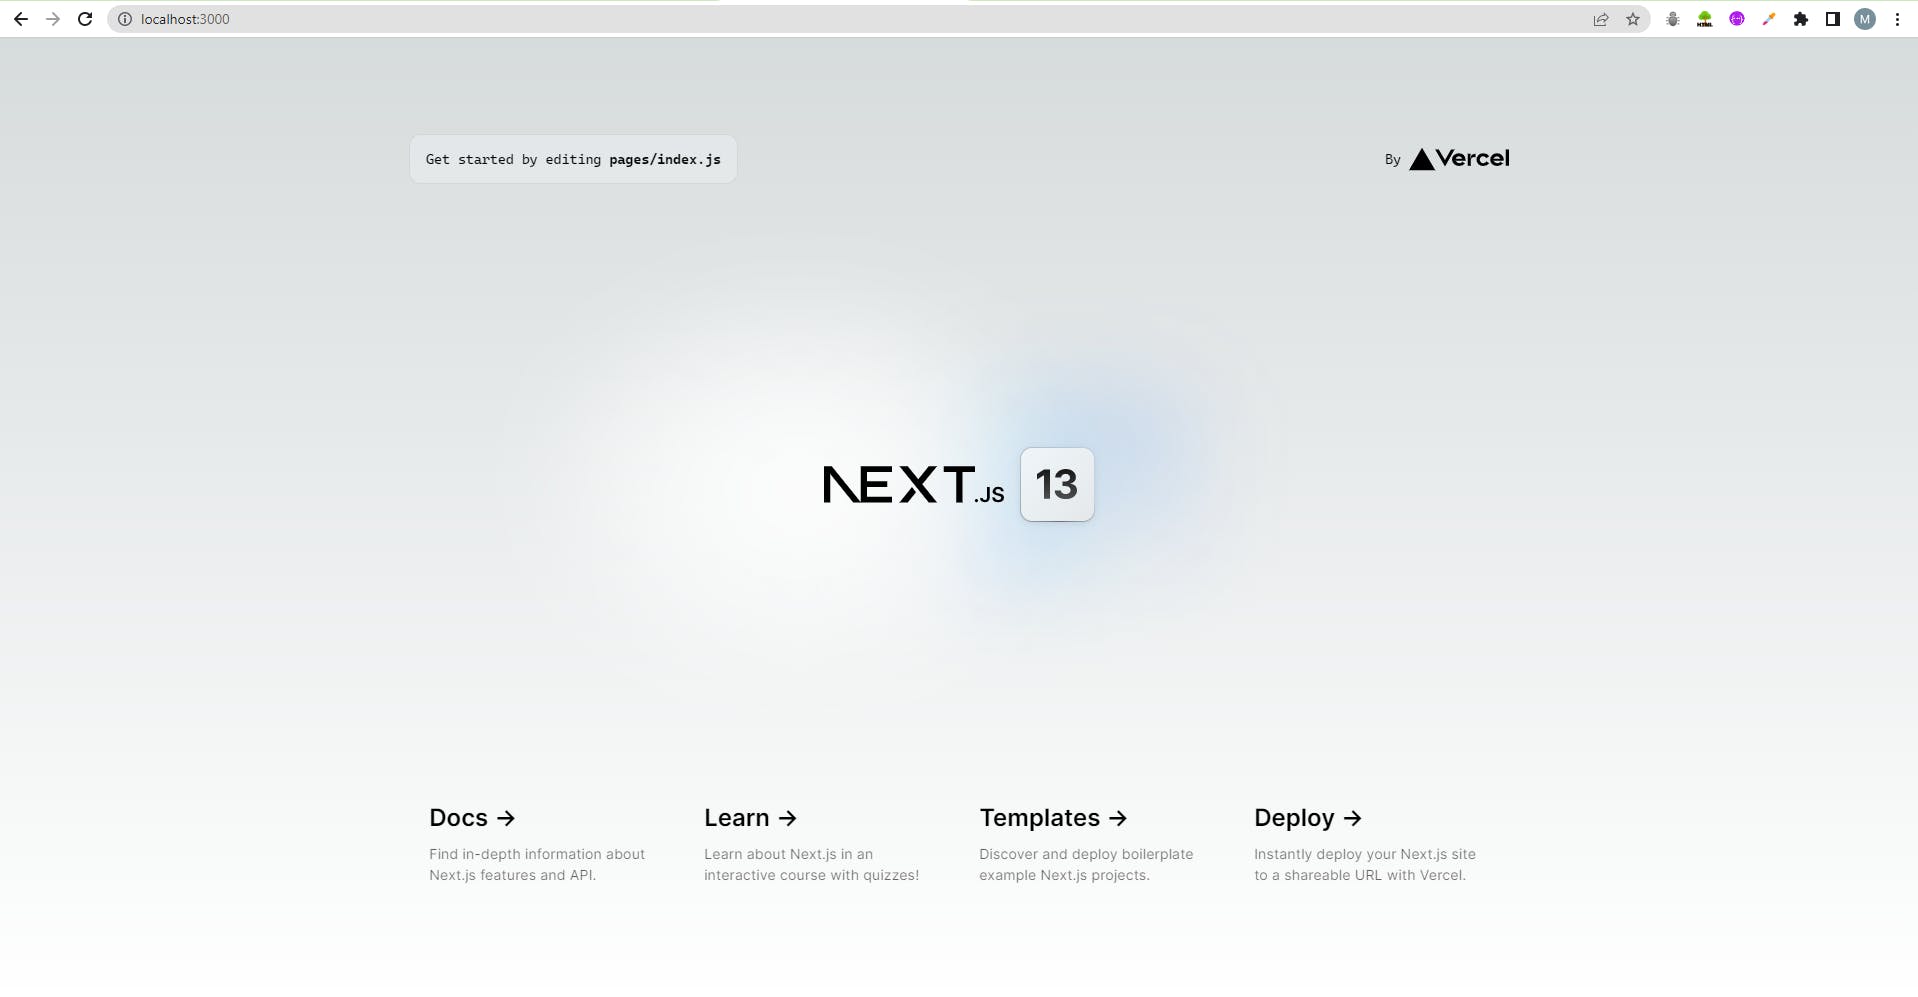
Below is the screenshot of the demo next JS application, which is running in development mode.

Now let's build the next JS application, we run the below code to build the application, which is used to run the demo application in production mode.
npm run build
After building the next JS code, we run the build code by running the below code in the terminal.
npm run start
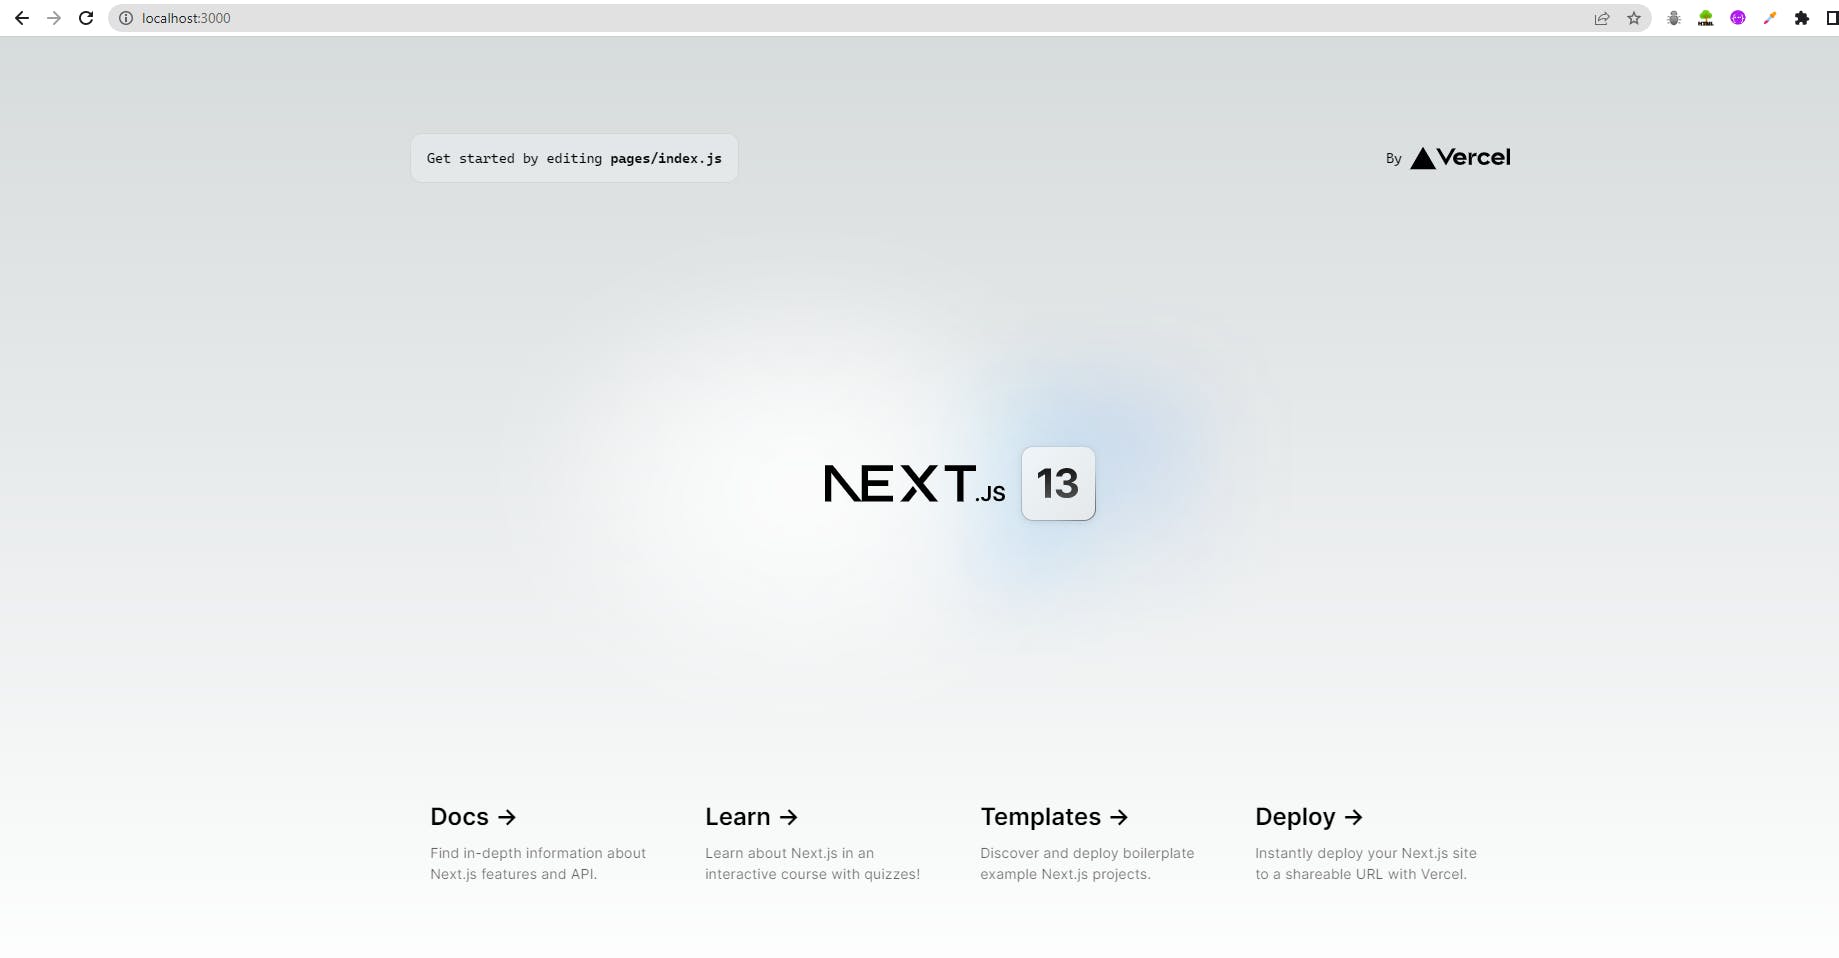
Below is the screenshot of the demo next JS application, which is running in production mode. You will observe that the production application is faster in response as compared to an application running in the development mode.

Finishing Up
Thank you for reading my article! I hope this has given you some insight into how to create a basic next JS application.

